 If you haven’t heard of Etsy, well basically is it a website that allows you to create a simple storefront to sell your crafts, homemade items, vintage items, or a lot more.
It has exploded in growth over the last few years and many artists are finding it to be a great way to earn money from their creations.
I’ve been thinking about opening an Etsy.com store for a long time, and I finally did it – so glad I did.
It wasn’t hard at all and I have to hand it to the developers at Etsy because the store setup process was about as smooth and simple as anything I have ever done online.
Actually, now that I think about it, I found it less confusing than setting up a Facebook fan page. My only regret is not opening is sooner.
 I’ve been creating designs for wooden rings and jewelry for awhile, and my husband and I decided to go ahead and start making them available for sale. This was a great chance to try Etsy and see how it would fit our needs – which it did perfectly.
If you have some cool products that you make and would like to start selling and earning money by reaching millions of potential customers, then opening an Etsy store might be a good choice for you too. Read on for a step by step tutorial on how I set up our Etsy store and a few secrets that will help you get more traffic and sales.
Opening an Etsy Store Step-by-Step
1. Create a Free Etsy Account
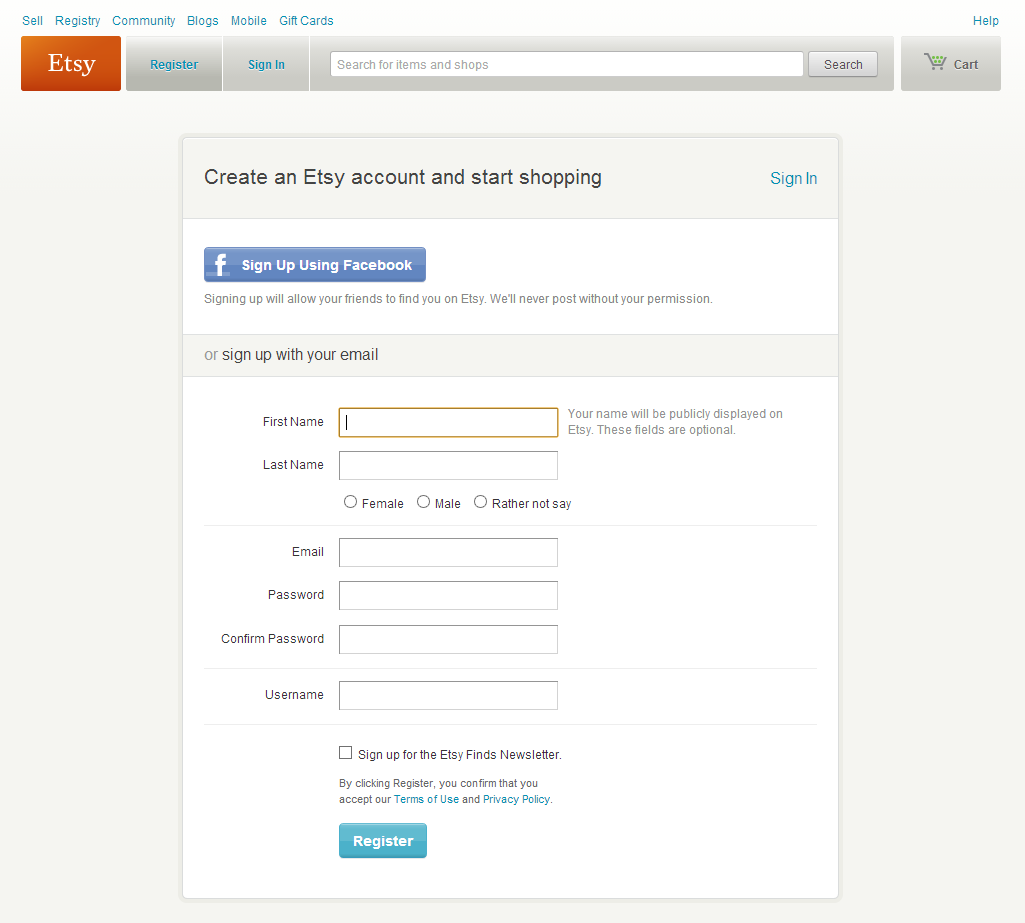
The first step is to create your free personal Etsy account. Your store will be en extension of this account. It will ask you for an email address and then send you an email verification email to make sure you do in fact own that email account.
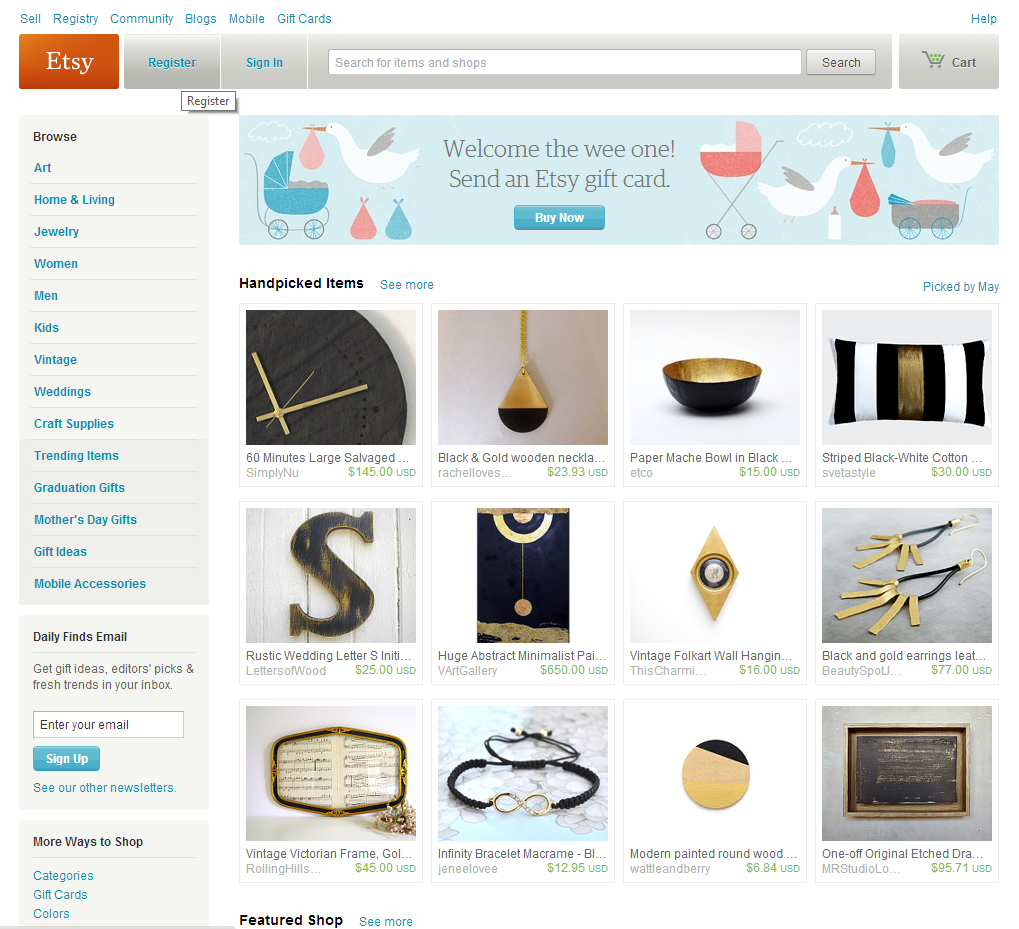
To create your account, from the main page select “Register.”
Then enter the information to create your Etsy account.
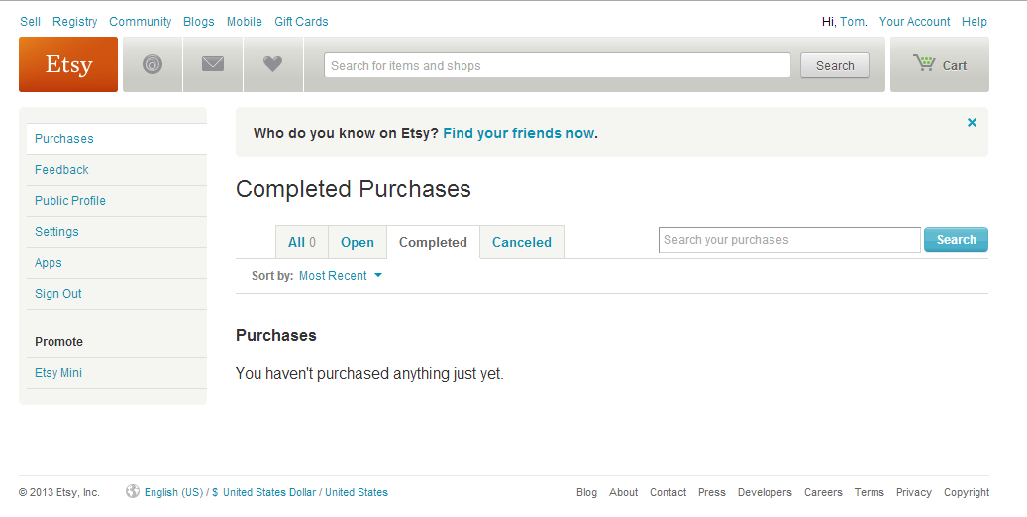
Next, log into your email account to verify your email and your Etsy account will be official!
2. Create Your Store
The next step is to create your Etsy store from within your Etsy account. To do this, simply log into your new Etsy account and, once inside, click the button in the top left corner that says “Sell.”
On the next screen you can learn more about selling on Etsy and then click the button that says “Open An Etsy Shop.”
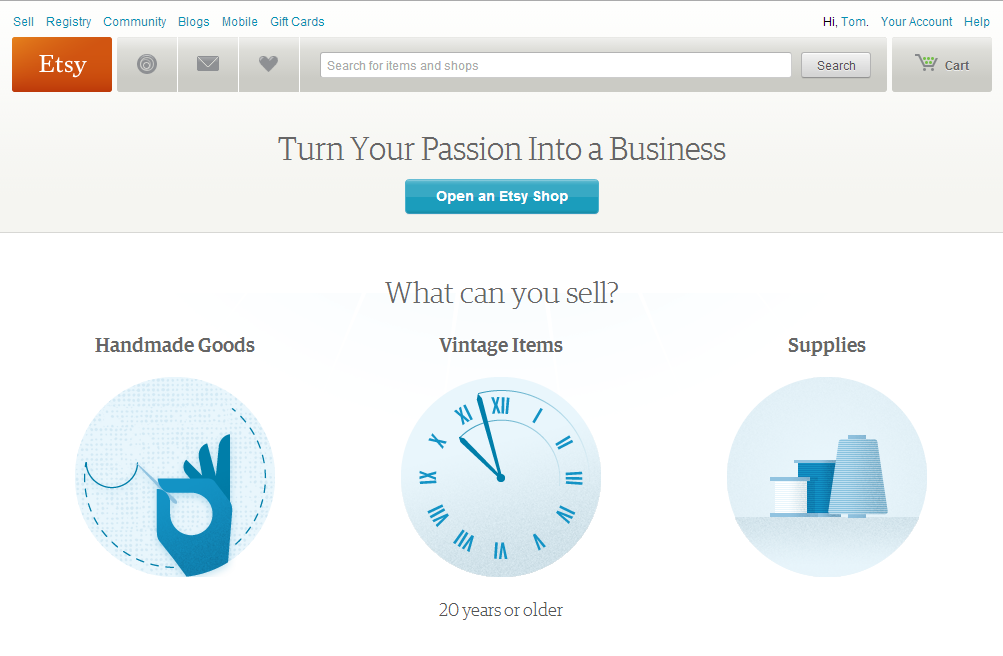
You will then be lead through a series of pages to help you enter the information about the products of your store.
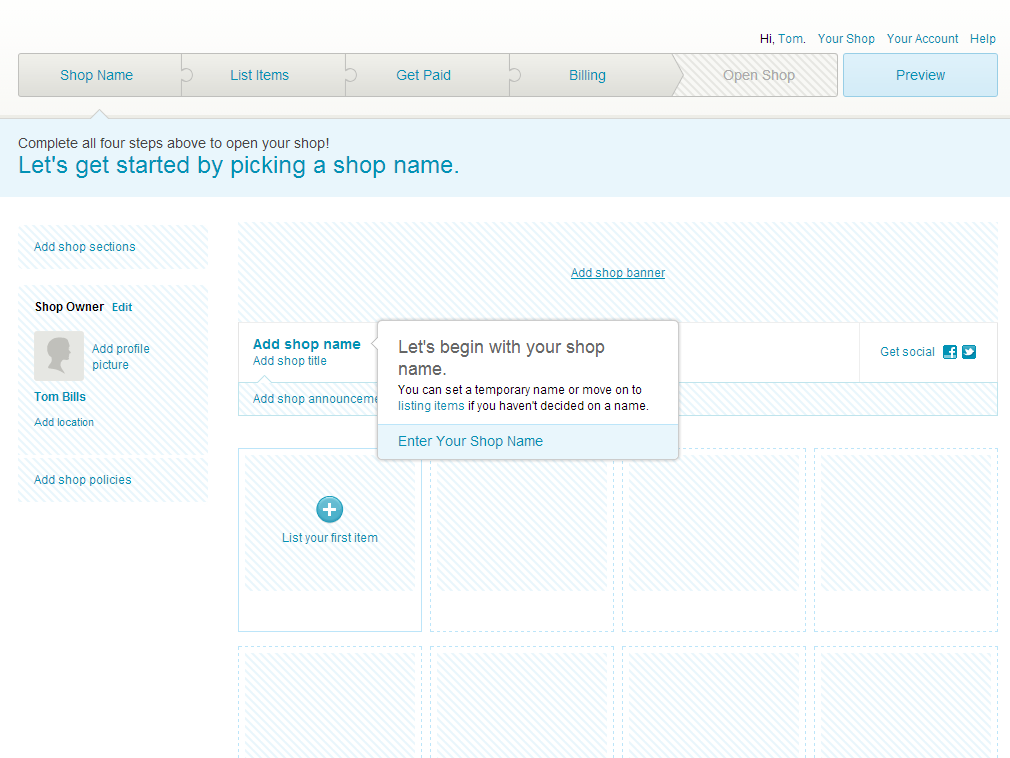
3. Add Products to Your Store
Once you have entered your shop name you can then enter your first item to sell at your new store. Take time to fill out each section carefully and be sure to be accurate with the categories you choose and options you make available for each product.
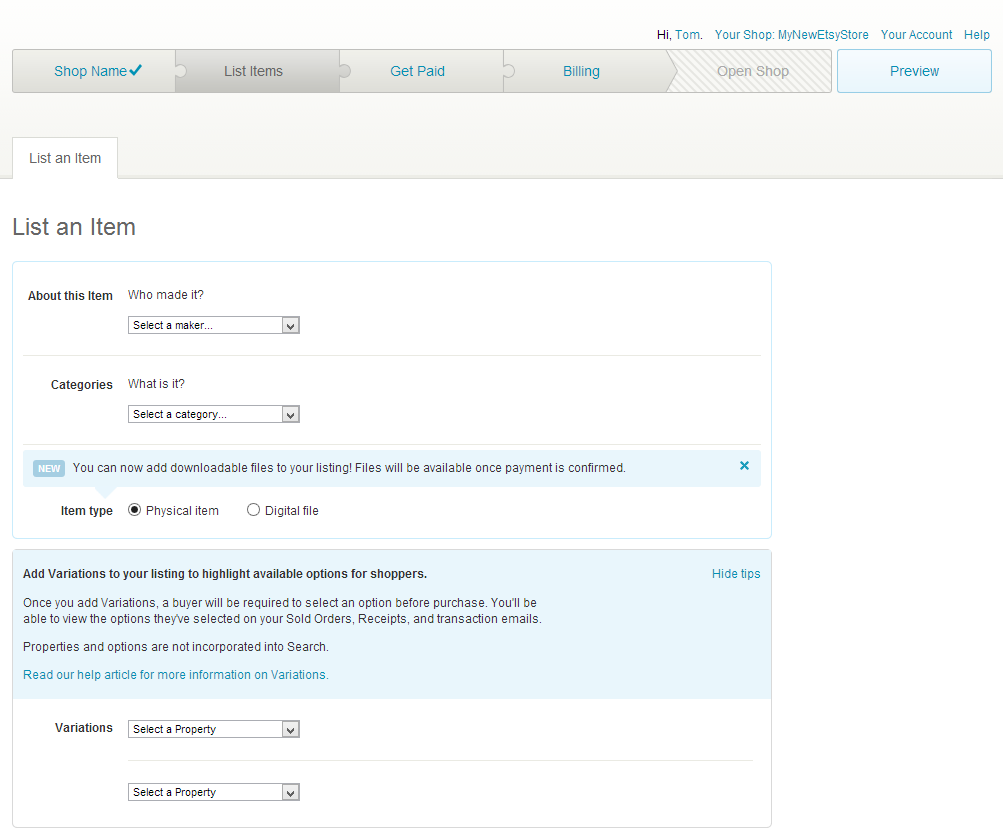
Tip: When choosing a title and description for your products, be sure to consider what words potential customers would be searching for when looking for your product. Use those words in your title and description to help them more easily find your product.
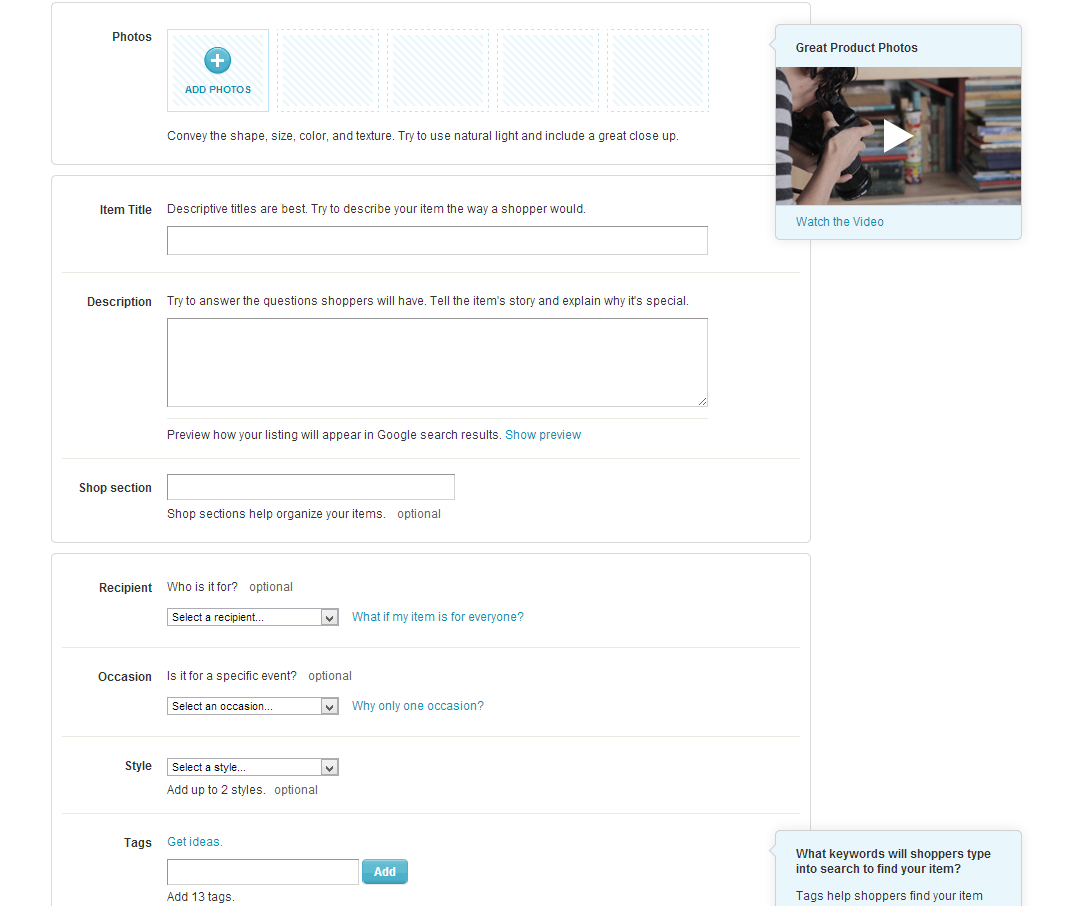
Tip – When entering the keywords and material descriptions, try to imagine what a perspective customer would type into the search box if they were wanting to buy a product like yours. Use those words as keywords. This is a key to getting the most traffic to your shop and consequently making more sales too.
4. Choose Your Payment Options
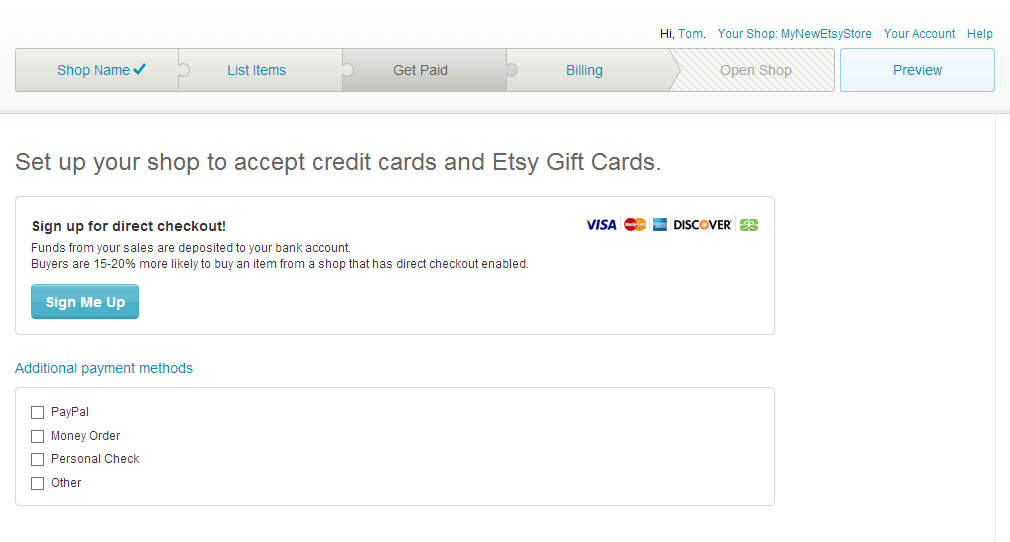
Typically when selling online and using websites with ecommerce functionality, setting up the payment section is the most difficult and complex part. However, I was pleasantly surprised with Etsy. The payment options are streamlined and very simple. Just select what you want and enter your information, it’s incredibly easy.
5. Add Your Billing Information
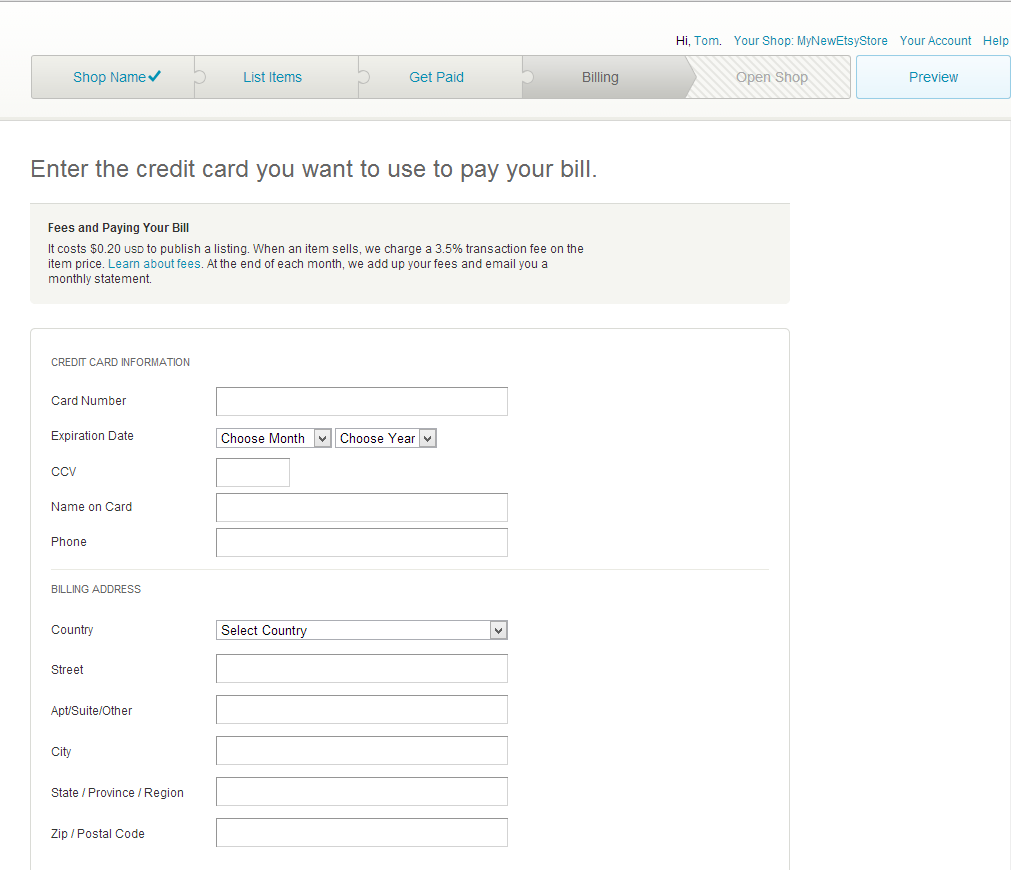
Next you can add your billing information which is used to pay your listing fees as well as the fees when an item is sold.
6. Publish Your Store
There is still more you can do if you wish, by adding information to your about page, shop policies, a pretty header image, and other details too. For the most part you though, you are ready for business. You can preview your shop to take a peek and see what it looks like now from the customer’s point of view.
When you like it and you are ready to make some money, just hit “Publish” and you are open for business!
Final Thoughts and Benefits of Opening an Etsy Store
Here are a few final thoughts about opening and running an Etsy store that I think might be helpful to you . . . .
Benefits of Etsy Shops
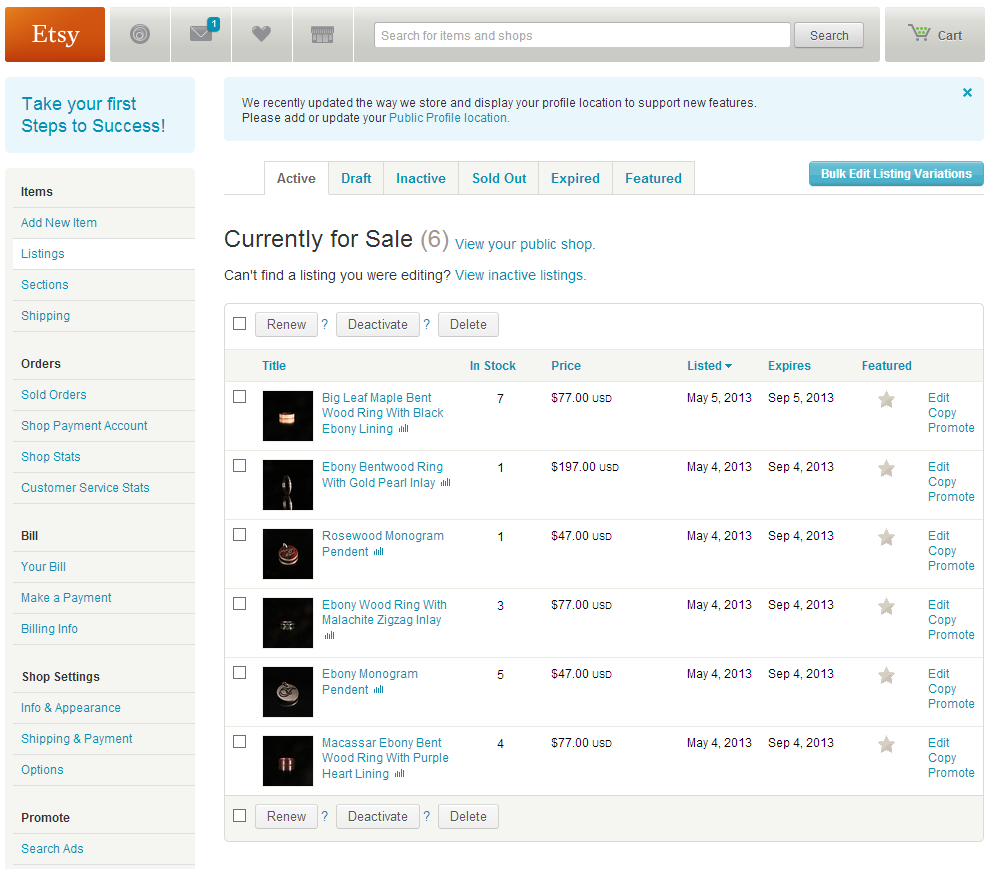
- Etsy shops be created in a matter of minutes with no computer coding required.
- No need to try to build traffic from search engines like you would have to on a normal self-hosted website.
- Etsy has a built-in stock management and order management interface – and it works great.
- Etsy also has built-in shipping integration with the USPS that makes printing your shipping labels as fast and easy as possible.
- Great community aspect helps to build connections and generate sales.
How Much Does Etsy Charge?
Lastly, you might be wondering how much it will cost to open a store. The great news is that the cost to open an Etsy shop is actually very low. Etsy doesn’t charge any membership fees, however there is a fee for listing each item of only $.20 for 4 months. In addition to this, they also take 3.5% of each sale you make. You also have to factor into this the additional cut that your payment processor will take. I set our store up to take credit cards and also PayPal. So in addition to the fees from Etsy, there will be more fees from the payment method the customer chooses. When it is all said and done, about 10% of the sale is going to cover the various fees.
So there are a few costs to consider, but nothing major. If you compare it to the costs of some other sites for selling online, as well as the costs of self-hosting a website with ecommerce capabilities, it is really very affordable and a unique alternative to selling on eBay.
Do you have an Etsy store or have shopped at one? What has your experience been like? Leave a comment!


